1953 Optima Plana #216940
Status: Sightings
Hunter: Hein Reinders (heinemaat)
Created: 11-16-2022 at 03:27AM
Last Edit: 12-11-2022 at 05:22AM
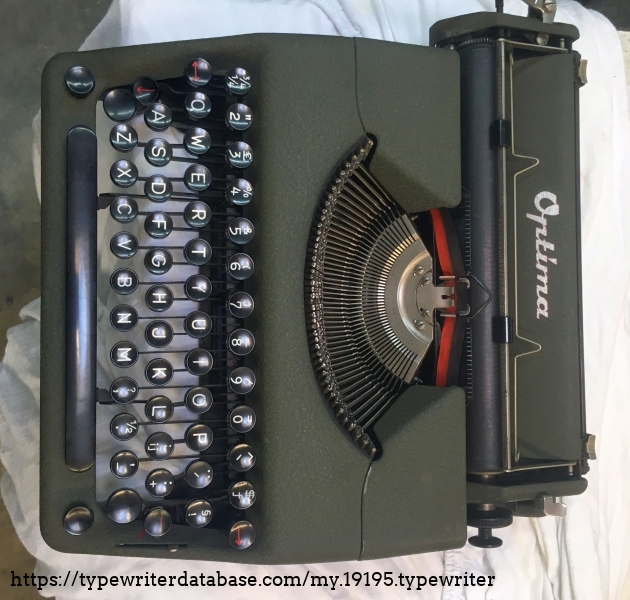
Description:
This machine is owned by Mikal Stet, a collectioneur of fine typewriters.
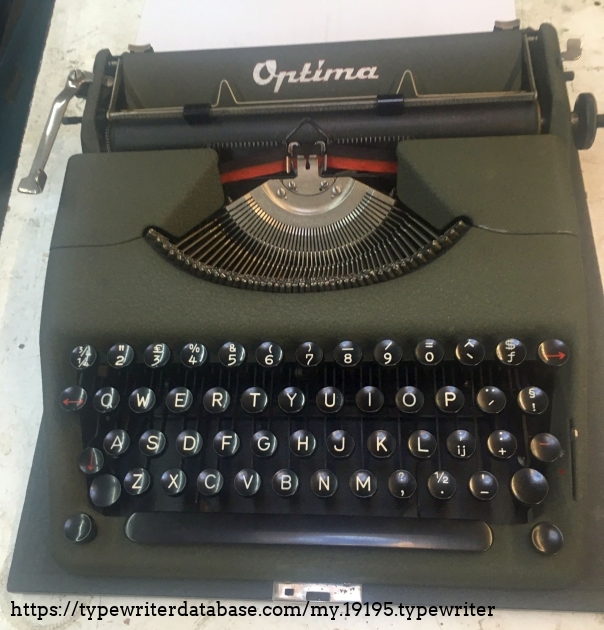
The problem on this machine was that the gullwing spool-covers would not shut tight, even to the extent that the CR-lever would collide with the left door.
The cause of the problem was is the deformation of the upper ends of the tension springs that pull the doors downwards.
When opening the doors wide, the upper end of the springs is forced to bend in a 90 degrees angle, away from its vertical axis. The spring wire is overstretched and deformed beyond returning to its original shape. After this deformation, it is the springs own upper ends that prohibit the doors from fully closing. This is a design flaw.
New springs made from a lighter gauge wire might help. But the springs are hard to disassemble from the doors, let alone assemble new ones.
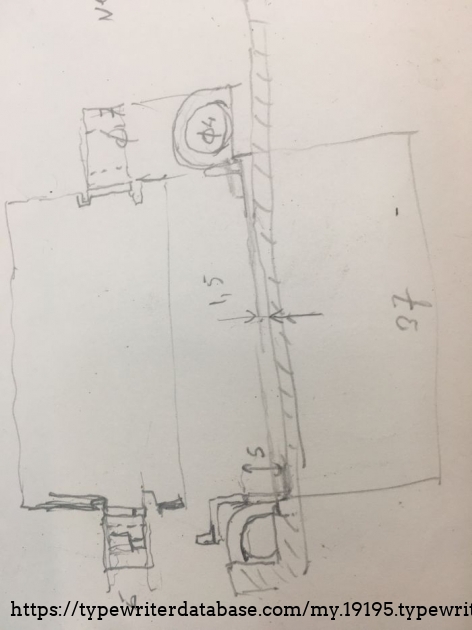
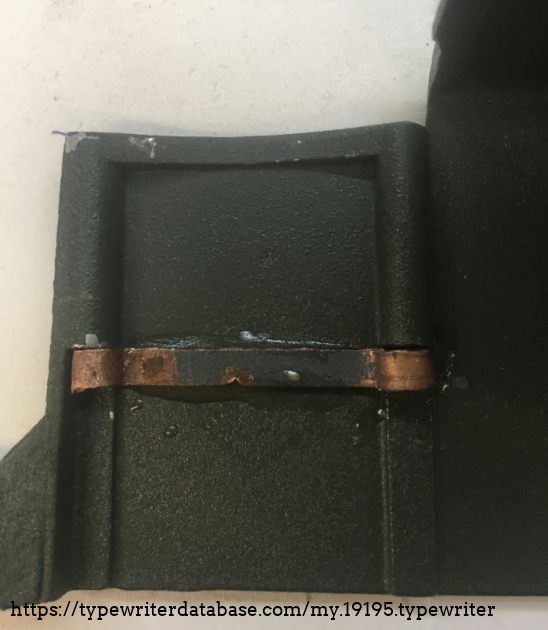
Accepting their deformation as it is , the initial thought was to prestress the springs a bit further so that their damaged top end would bluntly be pull down harder. The photo shows the drawing of such a spacer and the actual copper realisation, epoxied to the side wall of the machines cover.
Alas, we overlooked a thing or two.
Firstly, the Optima features fingers that reach between the ribbon spool flanges. They serve to keep the ribbon straight on the de-reeling side and take care of a dense packing of the ribbon at the on-reeling side.
Before removing a spool from under the doors, these fingers should be pulled out of the way first.
The Optima’s clever design has a cam-shaped notch on each door. This should take the finger out of the spool’s flanges, automatically when the door is opened. Tolerances and deformation of the sheet metal fingers require adjusting the fingers ends (by bending them) for this feature to work properly.
Secondly the original design has a stroke limiter built in, so that a door will not open beyond a 90 degrees angle. The doors would come out of their 'hinges' when broken open further than 90 degrees, and the tension springs are gone before that. The user of the machine is tempted to open the doors wide when replacing a ribbon-spool out, even after the cams move the brake finger out of the way properly (which they hardly ever do).
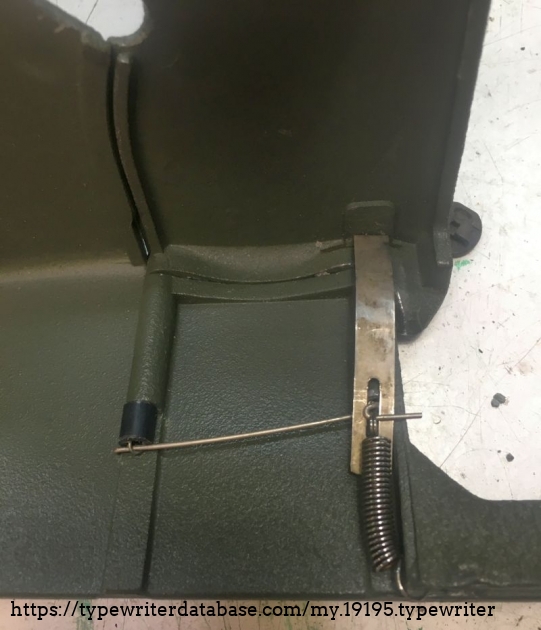
The stroke is limited by a slot in a foil that moves up when the door is opened (see the last photograph). To keep that limiter-function active, the bottom end of the frontmost spring can better stay where it is.
The solution to increase the down force on the foremost tension spring was to add an additional spring to the bottom end of the original front most spring. In its side wall, the cover happens to provide a nice slit to hook in this support spring.
The gullwing doors on this machine would not shut, to the extend that the CR-lever would collide with the left door.
The springs that should hold the doors shut tight are bend in a 90 degree angle at their top end, and thereby overstreched by bending the spring-wire beyond returning to their original shape. The spring upper ends are bend and prohibet the doors from closing fully.
This is a design failure. At their top end, the springs are hard to replace or to repair.
Accepting their deformation as it is , my initial thought was to prestress the springs a bit further so that they would simply pull down harder.
The photo shows the drawing of a spacer and the actual copper part that was epoxied to the cover side wall.
Alas, the original design has a stroke limiter built in at the bottom end of the front most spring, so that a door will not open beyond a 90 degrees angle. The user of the machine is tempted to open the lid further when taken the ribbon-spool out, since the ribbon brake lever that reaches into the spool is hard to get to.
To keep that limiter-function active, the bottom end of the frontmost spring must better stay where it is.
The solution was to add an additional spring to the bottom end of the original front most spring. The cover provides a nice slit to hook this spring in. See the photo
Typeface Specimen:

Photos:
Hunter: Hein Reinders (heinemaat)
Hein Reinders's Typewriter Galleries [ My Collection ] [ My Sightings ]

Status: Typewriter Hunter
Points: 1145
As a retired product development engineer, I am fascinated by the design of electro-mechanical products in which parts move, make noise and, preferably, radiate a little heat. Most preferred are products that are operated by keys, like typewriters, accordeons and pianos.
My genetics and statistics on lifetime expectancy suggest that it is time for me to let you know about the fantastic design, product engineering and manuacturing skills of the generation before mine. I salute mr. Munk for the opportunity that he has created for me to show it to the world. Okay, a bit bombastic.
Comments? Email me at hreinder1950@gmail.com
RESEARCH NOTE: When researching the Optima Plana on a computer with lots of screen real estate, you may find that launching the Optima Serial Number page and the Optima Plana By Model/Year/Serial page in new browser windows can give you interesting perspectives on changes throughout the model series.
